A well-packed MakeSpace bin is a work of art. That’s not hyperbole. That’s fact.
And we believe everyone has the ability to be an artist. You just need the right tools and some creative inspiration.
Packing your bin properly not only gives you an excuse to post a #belfie (bin selfie, duh), but it also ensures that your items will remain protected and organized throughout the storage process.
We’re all for creative license when it comes to expressing yourself through your art, but when prepping a bin for pickup, there is a right way to do it. Follow this step by step guide to a perfectly-packed MakeSpace storage bin.
Step 1: Check the Storage Rules

Before you show off your packing prowess, make sure the items you’re storing adhere to our Storage Rules.
We can store the Uncle Sam costume you don each Fourth of July; however, the leftover fireworks from last year’s celebration have to stay with you. Similarly, we’re happy to safely store your spice rack, but it has to be empty—perishable and non-perishable food items are forbidden, so we won’t be able to take your turmeric and thyme.
Our Terms of Service go into all the details of what can and can’t be stored and how the whole experience works, so check those out prior to packing.
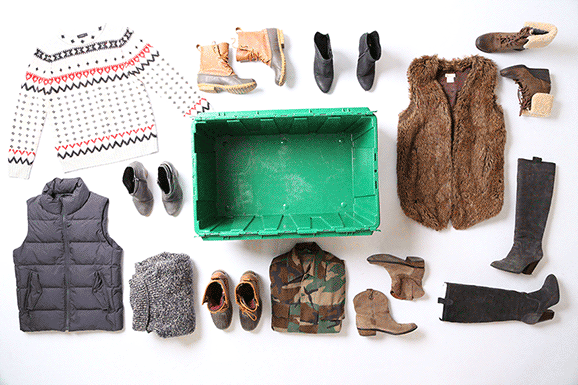
Step 2: Gather like items

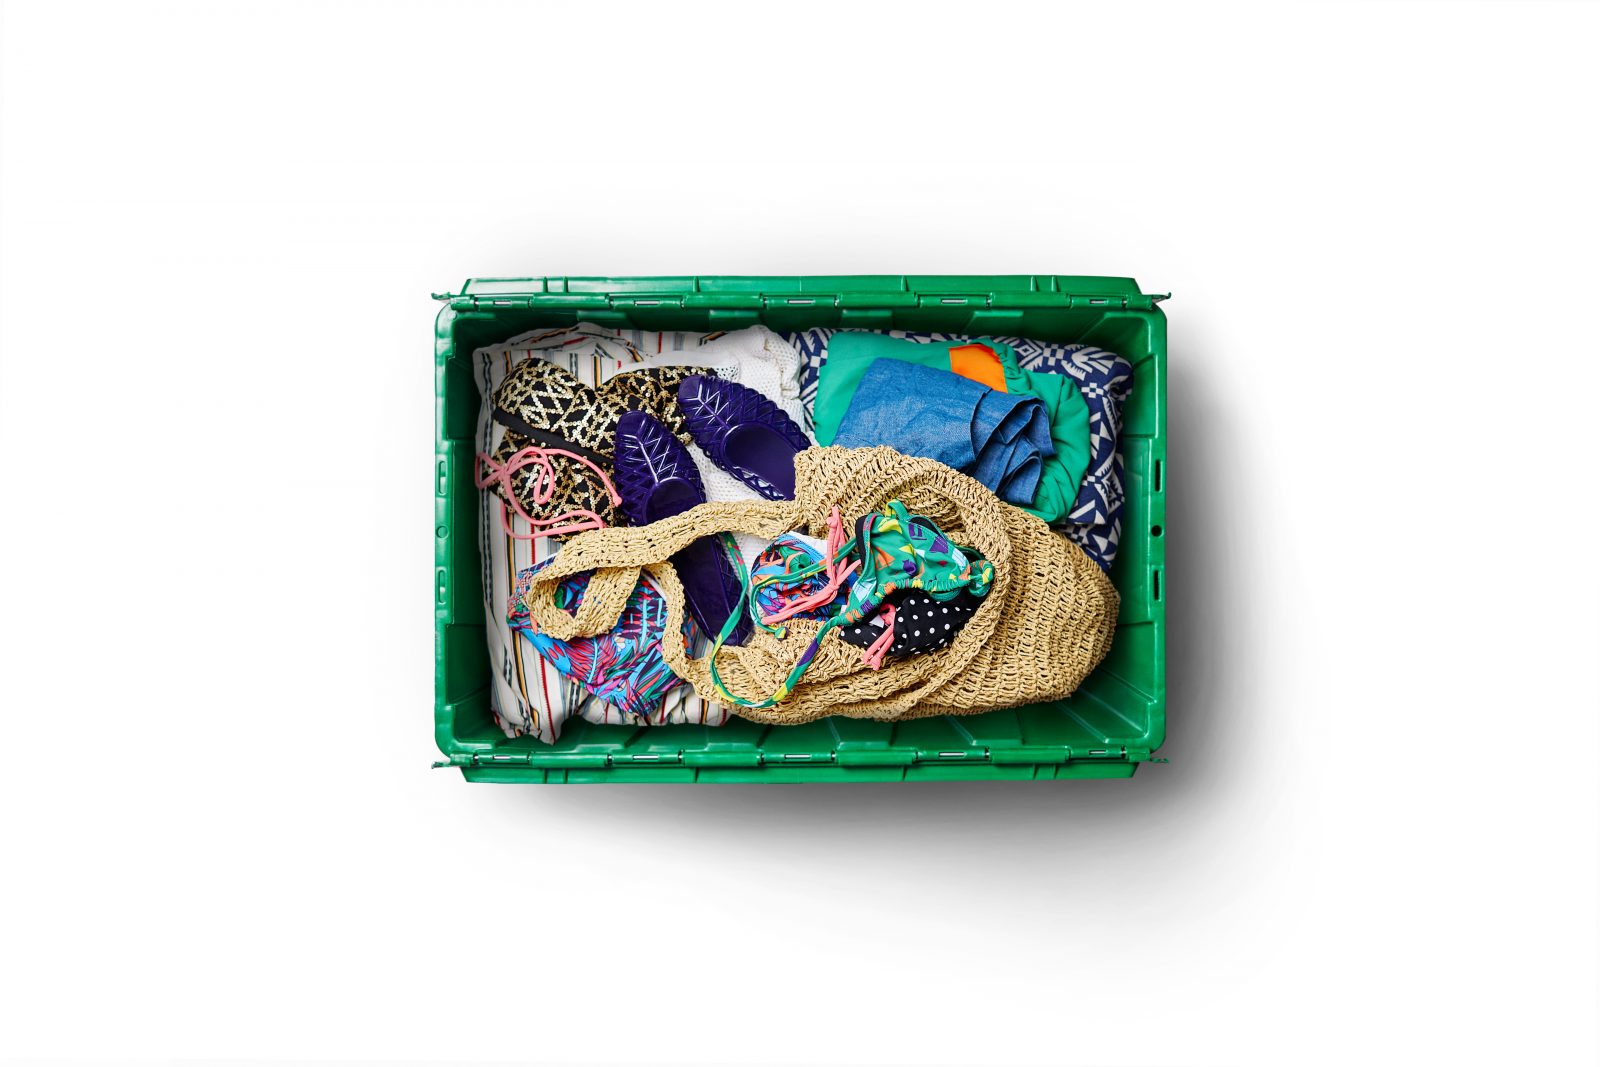
Similar items packed in the same bin will make it easier to request one bin back that holds all the necessities.
When you’re ready to receive all of your snowboarding gear, or all of your Halloween costumes, or all of your prized Mickey Mouse memorabilia, you can pick the appropriate bin from your online photo catalog and we’ll deliver it right to you.
No more digging through one bin for your party shoes and another for your cocktail dress. By keeping like items packed together, you’ve created a quick one-stop-shop for your essentials.
Step 3: Create boundaries

Your stuff is important to you, and if the option to hire full-on bodyguards to protect your things was offered, you have to admit, it’d be tempting.
While jacked dudes with ear pieces aren’t part of our protection plans, it is possible to build in some extra security to each bin you pack at home.
Take sturdy items like books and wooden accessories and place them around the perimeter of the bin. This will create a rigid barrier against the sides that will prevent the rest of the contents from accidental damage or shifting during transit.
Our bins are pretty tough, but we don’t take any chances when it comes to your items, and we know that you don’t plan to, either.
Step 4: Lay down the base
When you pack a bin that’s all about the base, you can rest assured that there will be no trouble.
Now that the sides are secured with books, take your extra towels, blankets, thick jackets, sweatshirts, etc., and use them to line the bottom of the bin. This extra-cushiony layer will give your belongings a soft spot to land. Plus, these bulky items tend to be difficult to pack otherwise, so you’ll be giving them dual purpose while ensuring the rest of your things are well-protected.
Step 5: Roll them up
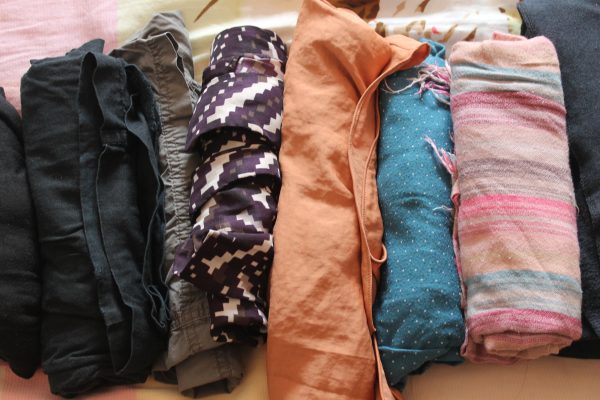
If you’re looking to get the most bang for your buck out of each bin, consider rolling (not folding) your clothing.
Although the jury is still out on which method will leave your clothes wrinkle-free upon unpacking, rolling your jeans, t-shirts, and yoga pants will save space and is best suited for fitting the most items possible.
Pro Tip: Some items might benefit from being rolled inside out, like those adorned with sequins or delicate embroidery, or pieces that are dyed, like dark-wash jeans. Since there will be less friction against the decorations as the clothing is moved from the truck to the storage facility, you won’t have to worry about wear and tear or color transfer.
Step 6: Top it off

Just as you gave your items a cushioned base, adding another soft layer on top of them will safeguard everything as the bins are stacked and moved.
Rolled up newspaper and scrunched up plastic bags are handy if you’ve run out of sweatshirts and coats. And, of course, bubble wrap is the old standby that keeps your belongings guarded against heavy bins and other objects set on top.
Step 7: Write that down

With our online photo catalog, you never forget what you have in storage. However, these pictures are not an item-by-item photo album. While we recommend packing bins in such a way that it’ll be clear to you what each one holds, writing down their specific contents before they’re sealed can help ensure exactly what you ask for is delivered back.
Each bin features a barcode, which helps our team properly manage it once it enters our facility. When the bins are still in your home, copy down this barcode and list the individual items in each bin. Once we’ve picked up your stuff, hauled it to our facility, photographed each bin, and the photos are available in your online photo catalog, you can edit the information associated with the bins to keep track of their contents, piece by piece.
This will come in particularly handy if you have multiple bins-worth of holiday decorations, but only need the one that holds the inflatable menorah. Listing what’s inside of each bin will make finding what you want and scheduling a delivery a piece of cake.
After you’ve sculpted the masterpiece of all MakeSpace bins, what do you do next?
Nothin’.
Our SpaceMakers will pick up your perfectly-packed bins, wardrobe boxes, and anything else and transport them to our safe and secure storage facility. You barely lift a finger.
Whenever you’d like some or all of your things back, simply schedule a delivery with a few taps in the app and we’ll bring them right back to you. This saves time and allows you to do the things you really enjoy, like painting the next classic work of art or filling in a page of a coloring book.
However you choose to express your artsy side, get creative with MakeSpace.
Related Articles


![]()
Makespace is more than just storage.
To find out how you can make space in your life, talk to one of our space experts. We’ll get you started with the right storage plan for you.